|
1965 Mustang Restoration Part 5In the 1965 Mustang Restoration Part 5, we look at how to put the finishing touches on quarter panels, tail light panels and other sheet metal parts. There a number of cheap solutions to doing your own body work, using filler, sheet metal, quarter panels and other products to achieve a professional result.
As I've learned, sometimes professional replacement is not only faster, but cheaper in the long run. The trick is to know when and where to make that decision.
Professional Mustang Restoration WorkHaving a friend who is a professional body man is both a blessing and an invitation for "discussions" about to why I'm not doing some of the Mustang restoration work the way a tradesman would do it. The issue usually amounts to time versus money. Using a large compressor and $200 air tools make the job a lot simpler, but isn't really practical for most of us. Technique, however is something we can learn to do well at no cost other than time.
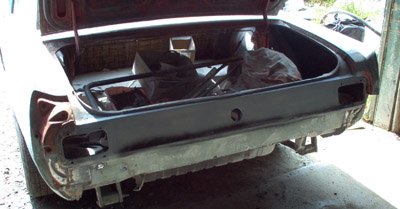
The top picture shows how, using a quick spray of black paint, or "guide coat" paint, helps you to find low spots and make sure that body lines are straight. Light sanding of the guide coat reveals the body filler or primer below. Any remaining black, tells you that this area is still low and needs to be filled a bit more.
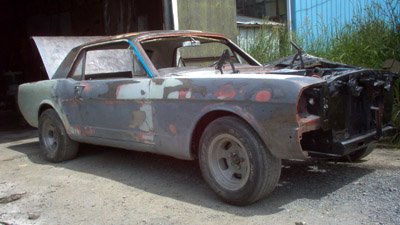
An All Steel Car ?In the next image, you see a combination of different colors. While my intent for my 1965 Mustang Restoration was to simply fill some fine nicks in the body panels, the result was still not satisfactory. While some restoration "experts" will try to tell you that they use no "bondo" or other fillers, the truth is quite different. The pro's and most honest restoration experts will tell you that even new body panels are not perfect. Making all the edges line up perfectly and getting the panels glass smooth, usually takes more than a shot of high build primer. In fact, applying a light skim coat using a thin body filler such as my favorite,
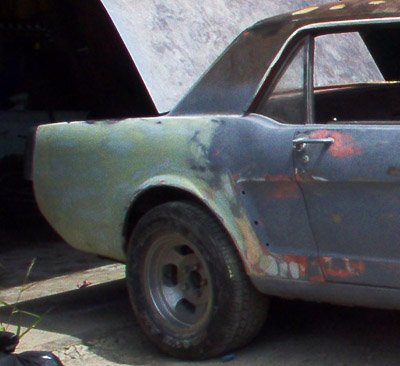
Evercoat Rage By the way, this is not some shameless plug for a product. Having tried many different brands over the last 20 or so years, Evercoat Rage really is my top choice for ease of use, sanding and resistance to pin holes and that's why I recommend it here. I's also helpful as the picture below shows, to show a clear difference when sanded between the gray primer surfacer and the yellow/gold to help identify high and low spots.
Then, using a light touch and finer grade sandpaper with your long board hand sander, you can quickly remove the excess filler and erase the very fine low spots ( see the light yellow/green areas) that would otherwise show in your final paint. For those last small pin holes or scratches, it's time for "icing", an even finer, almost liquid glaze filler. I've also tried some of the old style lacquer glaze putty in both tubes and in a can for other classic car restorations, but have had more than my share of problems with flaking, chipping and drying out in the container. And if you're not lucky, a small chip gets into the filler unnoticed and only rears it's ugly head when you try to make a nice smooth coat with your spreader. Meaning that you are going to have to scrape it off and redo it, ultimately slowing the progress of your classic 1965 Mustang restoration. Better Body Work Supplies Save You TimeUsing better materials and buying sandpaper in bulk quantities makes a lot of sense. Being shall we say, thrifty, I like to use materials to the bitter end. However, as I've learned, "wasting perfectly good sandpaper" and replacing it as soon as it seems the results are slowing down is a big time saver that costs very little. And better quality body filler sands better, faster and clogs sandpaper less than bargain materials. Because, while I enjoy working on my 1965 Mustang Restoration, I'm much more interested in driving it. Next Up: Final prep and panel alignment.In Part 6 of the 1965 Mustang Restoration, it's time for floor pan replacement. Restoration Sections Quick ReferencePart 1 - Mustang Restoration
Return from 1965 Mustang Restoration Part 5 to Mustang Restoration Return to Ford Mustang home |


