|
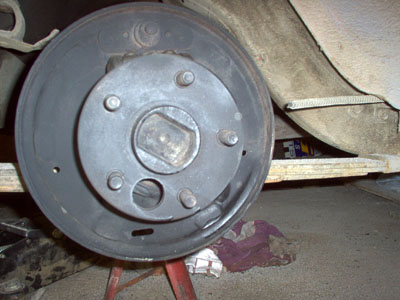
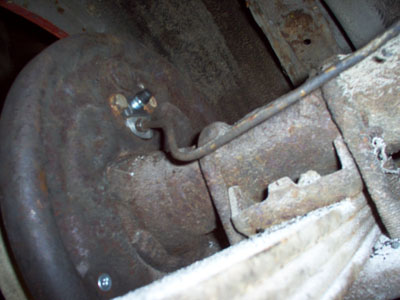
Mustang Brake Rebuilding and Restoration - Rear Drum BrakesMustang Brake Rebuilding and Restoration for the early classic pony car is a job you can tackle with a minimum of mechanical skill and tools. It's ugly and who knows if any part of would be safe to keep after all those years. Having opened the original Mustang master cylinder and finding a substance that looked like rusty pudding, there's not likely much hope for the rest of the system. Mustang Brake Rebuilding - Brake Drum RemovalBefore I get into the rebuilding of the brakes, we should discuss first, getting the drum off the car. Sounds easy right? Mine wasn't. You see, the previous owner apparently decided to replace the friction at some point and keep the badly scored brake drums in order to save some cash. Not only were they deeply grooved and beyond the point that they could be machined by a shop, they had such a deep groove, that instead of simply removing the wheels and giving them a tug, I had to pound them off with a hammer and chisel. Diagnosis of Problem AreasWhile clearly I had to replace the drums, I soon realized that the previous owner had removed all of the automatic adjusting mechanisms as well. The hard way, to do your Mustang Brake rebuilding, which is a no cost option, if you have Vice Grips, is to insert the proper spring into the hole in the shoe, grab it with vice grips and pull hard to attach it to the top spring perch. The easy way, is to use brake spring tool (about $10 - $15 bucks for an inexpensive one) and you'll have them on or off in seconds. Then it was time to remove the brake lines from the old wheel cylinders. I'd originally hoped that the wheel cylinders might be saved, but one try at the bleeder screw snapped it off, so that was that. By the way, if your shop or garage is not like one of those squeaky clean and brilliantly lit places like you see on TV, you may want to invest in a set of those cool Bossco Lite Wrenches. After all the parts were removed, the backing plate was cleaned and painted. Usually, it's covered in a combination of rust, dirt, grease and brake dust. My favorite tool for cleaning things up, is a mini media blaster. It's cheap and does a great job on small parts. The only thing is, that you need to have a small compressor on hand to run it. If you don't have one of these, don't worry, it only takes a bit longer with a wire brush and some good Degreaser or brake cleaner spray. 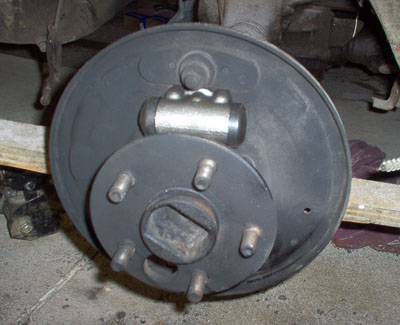
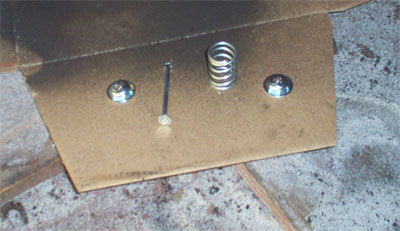
Attaching the Wheel Cylinder and PistonsAttaching the 1965 Mustang wheel cylinder is simple. Just remember to keep and re-use the two small bolts from the originals. Set the wheel cylinder into the cutout area and attach it with the two bolts from the back. Mine took a 1/2 inch socket, but yours may not. Brake Line AttachmentNothing major here, except being careful that you don't cross thread the nut on the brake line into the back of the wheel cylinder. Important Note: Unless you are sure your brake fluid is not contaminated or old, it's a good idea to first flush out the entire line from the master cylinder back with fresh fluid before attaching it to the wheel cylinder.
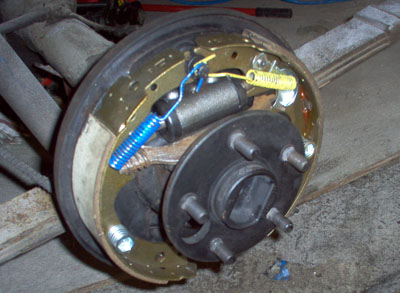
Install Brake Shoes and SpringsOK. We're ready to install the friction onto the backing plate and replace the new tension springs. Important Note: Remember to note which shoe (long or short) goes on which side of the backing plate. It will be different from one side of the car to the other because of where the emergency brake cable is inserted. Yes. The small cable and loop that runs from the top center post around the silver guide at the right and attaches to the adjuster ratchet which limits the movement of the Star Adjuster gear. You'll need to have it on before the blue and yellow springs are attached. Once all these top pieces are added, you can insert the star adjuster at the bottom. Like the wheel cylinders, these are either the left or right sides of the car. Adjust the Brake Shoes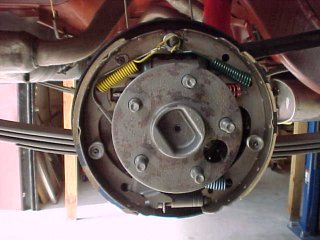
Manually expand or close the star wheel until you have almost a friction fit between the shoe and the brake drum surface when you push it onto the hub. Finishing Up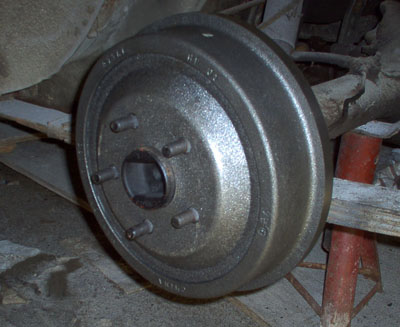
|


