|
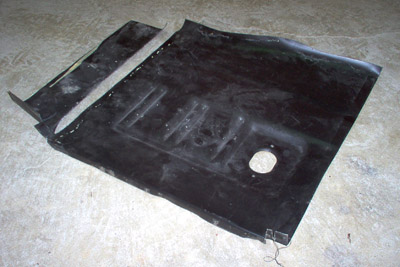
Part 7 -Mustang Restoration: Floor Pan Replacement ContinuedFloor Pan Replacement continues. Trimming the new floor pans is time worth taking to get a good professional and tight fit. Since trimming metal pieces is harder to do than cardboard, I use pieces of scrap cardboard, cutting and taping them together to get the fit I want. Once I'm satisfied with the fit, I transfer the shape onto my new floor pan replacement piece and remove the excess sheet metal. Using clamps, wood and a small bottle jack, I'm able to position the pieces into place for tack welding. Since I'm using a mig welder, I've drilled small holes through the toe kick panel and welded through the steel to join the pieces in the OEM factory style. What I'm not doing, however is attaching the floor pans this way. The seams will be fully welded and then sealed with seam sealer for a 100% joint. The toe board or toe kick is first rough cut, then trimmed to best fit the floor pan replacement sheet metal. If you are working on a 1965 Mustang convertible, or newer classic Mustang, you may be wondering why I haven't mentioned torque box replacement. That's because the early Mustangs only featured the structural reinforcement known as a torque box on the convertible. Later cars all have them and you can count on torque box replacement if you have rusty floors to repair. Sealing Mustang Floor Panel Seams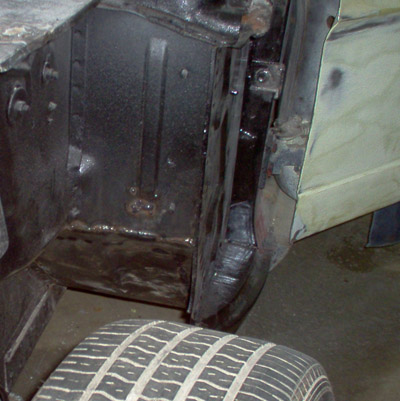
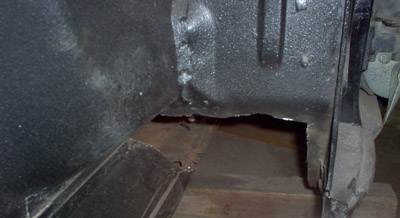
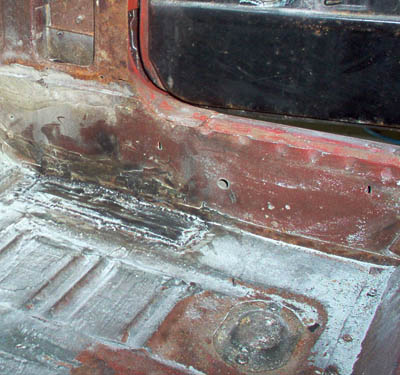
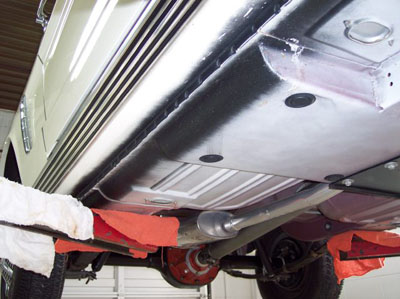
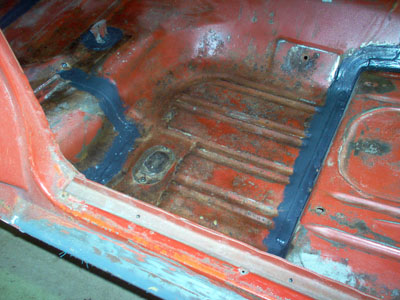
On the exterior (wheel well area) The welded seam has been placed to make for an easy to finish and hard to spot repair. And yes, the panels have been welded below and seam sealed for a clean and rust proof floor pan repair. The previous owner, wasn't so kind, leaving me with jagged ugly metal to remove. It looked like a really big dog with very strong teeth ripped the old panel out with his teeth! Rear Pan Before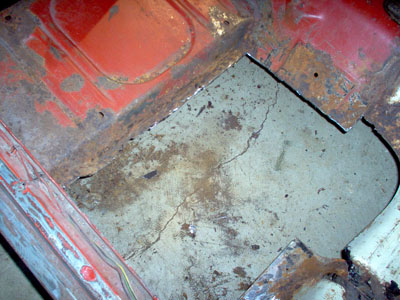
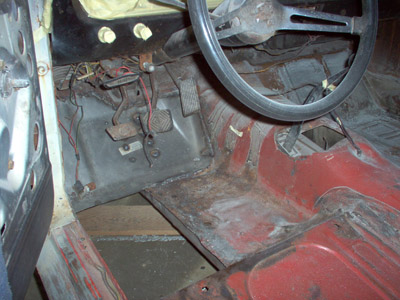
Test Fitting The Replacement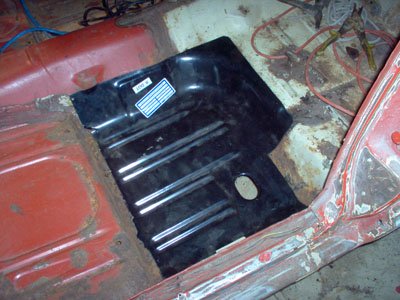
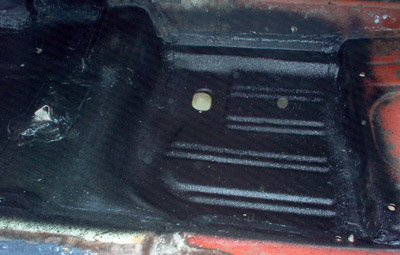
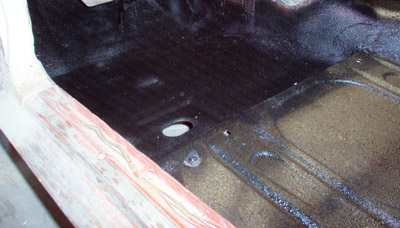
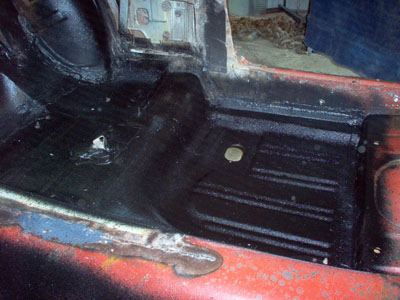
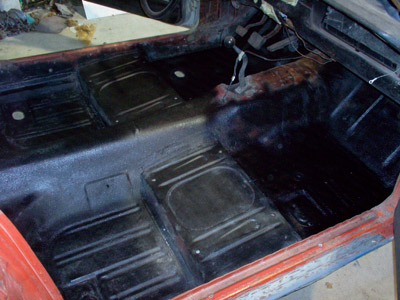
Sealed Floor Section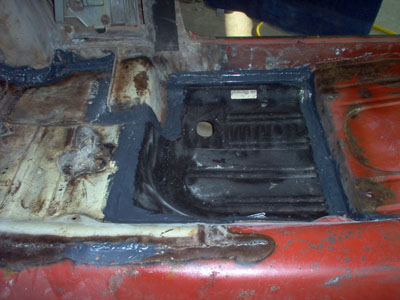
OEM Floor Pan Look or Good Replacement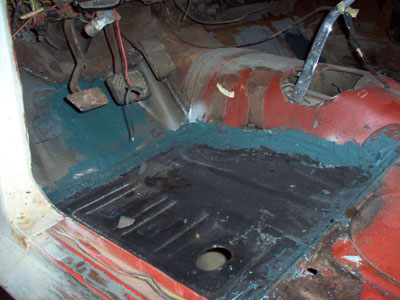
I use a short strand fiberglass filler after the floor pan replacement panels have been welded, when I want to blend the repaired floor area into the existing sheet metal. If you try to do this with ordinary body filler, you'll end up with a big ugly cracked and rusted mess in the not too near future. So bite the bullet and invest in a good fiberglass filler like duraglass or other filler. It's hard on sanding discs, but it's rock hard and tough. Patcing FloorsSometimes a full panel is overkill. The front passenger floor in my 65 Mustang coupe was really good, as was the rear floor area, except for a couple of small pin holes. Now, I could have just filled over these holes, but we both know what's going to happen don't we? That's right, not long from now, when we'd be expecting to be driving the newly restored little gem, we'd be getting that brand new carpet wet. Yup. Little pin holes mean thin metal and another piece of floor to replace soon. So why not now, when the welder is out and the new carpet isn't yet in? After a couple of quick cuts with a cutoff wheel, the offending rusty metal was removed and then used as a template to cut a new floor pan replacement patch piece. A little later and wham! New solid metal. No future problems.
Final Floor Panel Replacement FinishingShow finishing is different than a daily driver finish. I build more classic Mustang cars for driving enjoyment than car show trailer queens, and what you see in this particular 1965 Mustang restoration is, designed for long lasting street use. An original Mustang was not designed to last 40 odd years. Rust proofing? What's that? For a weekend driver or an everyday fun car, I think the way to go is to seal it tight like a drum! You're not done yet! It's just as important to chip off all that old dried out sealer on the good metal and re-seal it with a new coat of brushed on seam sealer. (you did that right?) It looks good (and then it's covered up) and it prevents a wet carpet from later turning into a hole in the floor ! This will give you a nice smooth finish that keeps water out and adds rust killing ingredients, while allowing you to paint the surface in the original body color. Easy Floor Plan Replacement Guide
Whether you're a novice or well seasoned in other projects, my new in depth, downloadable Easy Floor Pan Replacement book clearly guides you step by step from start to finish. And it's coming early May 2012. Subscribe to the RSS news feed (located below the listings to your left), or check back here soon, for the link to all the information you'll need to get yours. Cheers! Restoration SectionsPart 1 - Mustang Restoration Index
Return to Ford Mustang Home |


