|
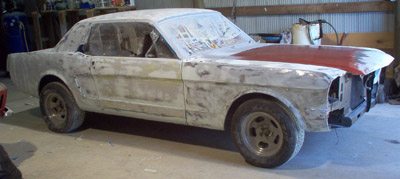
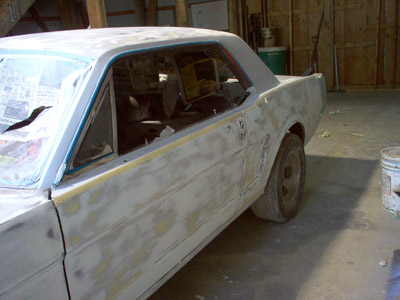
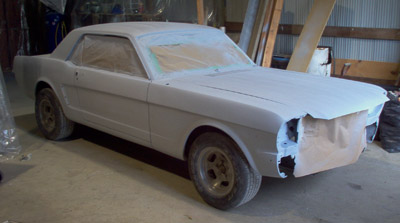
Paint Your MustangTime to paint your Mustang ? Whether you want to paint your own car or prep it for paint elsewhere, money can be saved. Final Primer Coats and SandingLooking for the secret to great mustang paint jobs ? Well, there's no one secret that will turn your restoration work into a paint finish that turns heads. Whether you paint your Mustang yourself or save that job for the body shop, the big secret to a great paint job, is ..... great prep work and not being afraid to redo something that isn't quite right. Case in point. with all the paint stripped to the metal, my 1965 Mustang was looking like some minor touch ups on the front two-thirds of the bodywork would be all I needed to get rid of the little door dings and imperfections for a nice straight body. Well, after countless hours of spot filling the doors, hood and front fenders, the results were less than acceptable and I had to pretty much remove it all and start again. Using a tape strip will quickly tell you where more work has to be done. Keep it while you apply your lightweight body filler or icing and you will instantly have a crisp line where you want it. What Not to DoThere's a very nice looking red 1965 Mustang convertible in my neighborhood that reminds me why it pays to do it right the first time. It's that good a paint job? Yes and no. The paint is beautiful! Nice, smooth, no drips or dry spray. But.... looking at the sides of the body, from anything nearer than 20 feet makes you wonder why he bothered with even painting the car. Ripples, uneven surfaces, waves and poor lines erased the nice paint job. In fact, the great paint, makes the bodywork look worse. Primer Surfacer and Final SandingWhen you're really sure that the surface is straight and smooth, it's time for the last coating of primer surfacer, filling pin holes and small scratches and preparing the surface for paint. Before the body surfaces were ready for the final primer coat, the entire car was treated to a fine coat of "icing". Icing, is the term car restoration folks and body shop tech's call the really fine thin filler, that's used to fill fine scratches, build up small low spots and give your car that "better than new" finish.
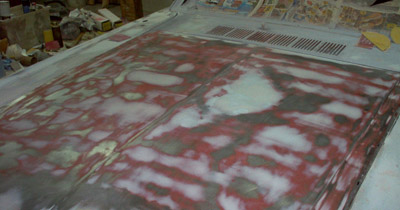
It's not that the hood was damaged or bad. It was simply that everywhere that under hood reinforcement was attached, the heating and cooling from spot welding and the 40 plus years of use caused it to become uneven. A thin coat of icing and some careful long board and block sanding ensures the final finish will be great looking when it's time to paint your Mustang or send it out for painting. Filling Pin Holes and ScratchesOnce you are satisfied that the panel or body parts are smooth and straight, it's time for a closer look. Carefully go over the part and look for small holes in areas that were repaired. Usually the cause of pin holes, is that air has made its way into your body filler when mixing and was uncovered in the sanding phase. If you try to paint your Mustang and hope that the paint will somehow run into those little holes, you're going to be sadly mistaken. Important: Blow them out before you fill them. Small particles of sanded filler can get in there and either momentarily cover up some of the issues, or make it so that your glaze putty or icing can't get a good bond and will soon mean a re-do. Final Primer CoatYou may have been wondering why I've primed the surface a number of times and then made changes. I think, for the minimal cost of a coat of primer surfacer, it makes it a lot easier to spot imperfections that just can't be seen when you have multi-colored body work fresh from your repairs. A smooth even gray surface, is perfect to find little problems and fix them before you get to the final primer phase. I usually turn off most of my shop lights and start looking down the sides and along the body lines and never fail to find at least something that has to be fixed.
Part 2 Preparation and PaintStay tuned. In the next section It's final preparation and the start of painting. We'll examine Mustang paint codes, paint colors and start to see some color on the little 1965 Mustang coupe.
Restoration Sections Quick ReferencePart 1 - Mustang Restoration Index |


