|
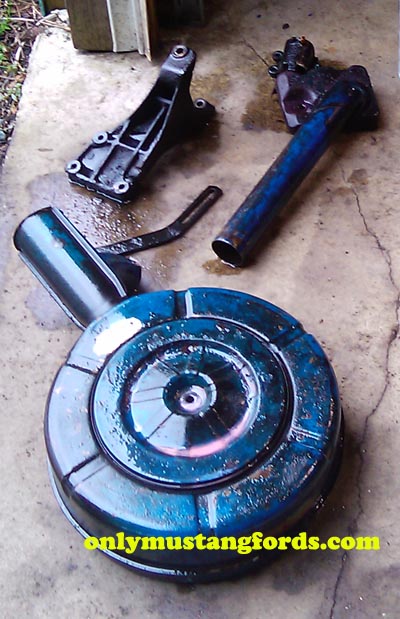
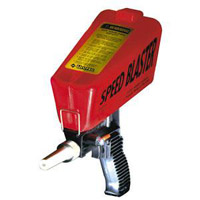
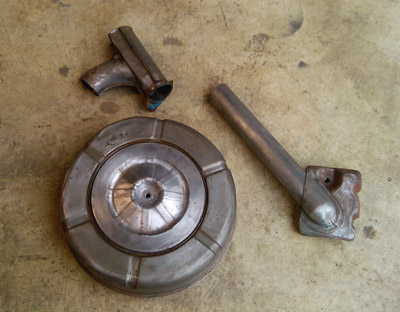
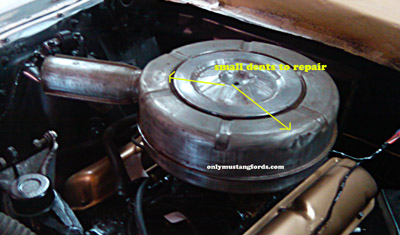
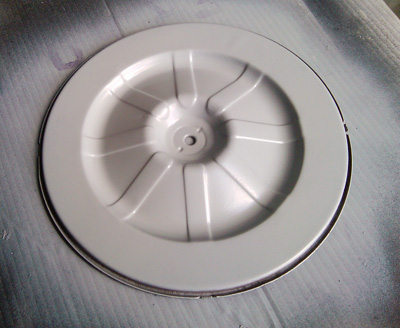
Air Cleaner RestorationAir cleaner restoration is a great way to begin learning how to restore your classic car. Step 1: Cleaning and DegreasingThe first step in air cleaner restoration, is degreasing and cleaning off all the old oil, grease and loose rust. The picture above shows what this 1965 Ford Mustang air cleaner assembly looked like right off the car. (it actually looks better here in the picture, with degreaser sprayed on it than it does in person. Mine had a lot of surface rust, chipped paint and lots of dried grease, mixed with dirt on the underside. This classic Mustang air cleaner is composed of three different sections. The main body, lid, snorkel, heat exchanger tube. (note: the two other parts were generator brackets, in need of strong degreasing). Take the extra few minutes and separate the pieces from each other. This will not only make removing the old grease easier, it also makes rust and paint removal easier. Step 2: Rust and Paint RemovalHere you have a couple of choices in your air cleaner restoration. Either, start by removing as much original paint as possible with a good paint stripper and brushing off the old paint. It's a great choice if there is little or no surface rust, which means you can skip right to sealing and painting. If like my 1965 Mustang air cleaner, you have to deal with chipped paint, surface rust and more, you may want to consider either taking it to a local sandblasting company, or doing it yourself with a mini sandblaster. The surface you get after sandblasting is slightly porous, from the high pressure sand hitting the metal and depending on your next step, may be all you need to skip to the paint prep stage. Here's a link to details on the one I use (pictured above) Gravity Feed Small Sandblaster Step 3: Sanding and Surface PreparationOnce I had the surface as close as I could get with my sandblaster, I switched to a small sanding block and 120 grit sandpaper. Step 4: Paint PreparationDuring a quick test fit, to make sure nothing had been bent or twisted before paint prep, I noticed that there were a few small dents in the air cleaner body. ( it's amazing what you can see when it's all nice and clean!) Step 5: Dent and Scratch Repairs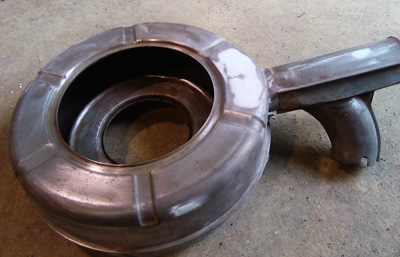
I'll sand it to the basic contours with an 80 grit paper on my sanding block and then cut it back again to a finer cut, with a 120 grit paper on the block. Note: This is the time to make sure you found everything before you paint. Nothing is more frustrating, than thinking that you have all the little issues repaired and painting your part, and then finding some large scratch, or dent. Step 6: Painting and AssemblyThe great thing about doing the air cleaner restoration, is that you don't need any special tools or equipment. Once you're happy with the look of your part in primer, it's time for paint. While we could use a great big compressor and professional spray gun, it really isn't necessary for the average do it your selfer to have, in order to make a nice professional looking result. What is required, though, is patience. Yeah, I know you want it done and on the car, but if you hurry this step, all your great prep work will be for nothing. Step 7: OEM colors and FinishingIf you're looking to restore the part to factory original condition, it's important to choose the right colors and the right degree of shininess. For instance, on a classic Mustang, the engine bay is a satin black, not gloss or flat black. The air cleaner body on this particular engine is going to be a gloss gold, matched as close as possible to the original color, while the snorkel on these air cleaners, was a gloss black (go figure). So along with taking apart the two pieces for cleaning, it's also necessary, because they will end up being two different colors as well. You'll find this on other cars as well. The 1970 Charger, with a 440 Magnum has a two toned air cleaner and a 1970 Camaro can have a black base with a chrome top or a painted top depending on the engine choice. Step 8: Time to PaintSo what can the average person do to paint their newly cleaned up air cleaner restoration parts? Well, I'll give you three possibilities, which can all do a nice job. 1. Rattle can with a good quality brand paint. Yes, you can make a nice job with a rattle can, so long as you make nice even and thin coats. If you try to hurry things up, all you're going to get is runs and frustration. Don't worry if the first coat doesn't cover the primer underneath. Just go carefully, overlapping your strokes by about half and move fairly quickly. Allow the first coat to dry for a few minutes and repeat, for a total of about 3 coats. For more depth, you may also want to add a clear topcoat or two. But remember, classic cars didn't have basecoat/clearcoat technology and even with a very good result, it won't look original. 2. Preval sprayer and professional automotive paint. I've used these for years. Available at many auto parts stores, you have a small glass bottle for holding paint and a disposable propellant cylinder with a liquid pickup. These little units will give you a professional result, using professional paint. The downside, is that you will probably have to spring for a pint of paint, plus hardener and reducer, but the result is very nice. 3. Model paint airbrush. These units are available from hobby stores and are like a bigger version of the Preval sprayer. With a good quality paint, they also make a very professional looking job. And if you can find the right color, you can buy a good, small batch of synthetic enamel that will work, if you don't want to use automotive paint. Step 9: ReassemblyAfter giving the paint a day or two to dry and cure, you can safely put the pieces of your air cleaner restoration back together and on the car. Assuming you car is running, the heat from the engine will do a nice job of baking the paint into a good, hard finish, which will last for years! |


