|
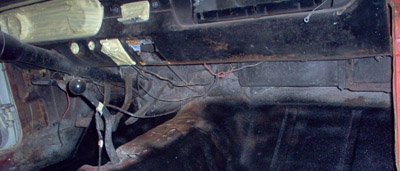
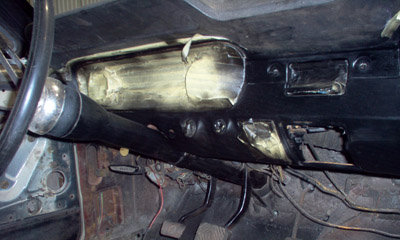
Mustang Dash RestorationYour Restoration surely isn't complete without a Mustang dash restoration. The nicest new carpet,headliner kit or new door panels will only magnify the issue, so why not spend a little time and do a Mustang dash restoration to put your interior back to new condition ?
Dash Repair Procedure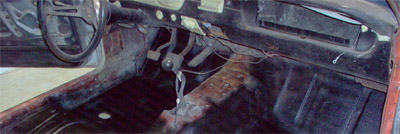
The paint is scratched, faded and shows surface rust at the bottom edges.
Sanding and Paint Preparation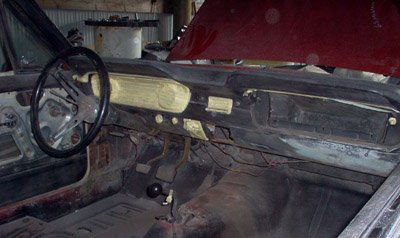
Either way, that was a long time ago, judging by the condition of the dash. If your dash paint is in reasonably decent condition (no chips, rust etc.) but still needs freshening up, you can probably get away with scuffing it with a fine 3M pad and repainting it. If you have issues like mine, you'll need to go to a coarser grade of sandpaper to get down to the metal and remove any rust. I started off sanding the main surfaces with my DA sander and then following the curves for the rest by hand with a roll of 220 grit sandpaper. Painting the DashNo mysteries here. But you have a couple of choices. If the finish was reasonable, you can probably scuff the paint and simply repaint the dash.
Or you may decide to first prime and then paint it. If you are changing colors, or need to have a good base for paint after repairs (body filler, scratch repair or rust removal) then it's going to be necessary to prime and paint the surface for your Mustang dash restoration. Here's mine after the first coat of satin black. Glove Box Door Restoration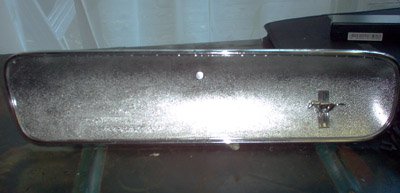
Carefully, using paint stripper, I removed the old glove box door paint on both sides (3 rounds of stripper and got it back to a nice and shiny base. Note: If you try to only sand it and paint it, you risk filling in the grained pattern and having to redo it, if you want a true OEM look to your glove box door.
After some careful sanding, I've wiped the entire dash with wax and grease remover and a tack cloth. Then I coated it with a satin finish. Many Mustangs you see will have a shiny black dash restoration, but the original Ford finish is a matte or satin finish.
Thanks to a couple of toothpicks and some water based model paint, the mustang logo looks as good as new too. Oh, and a very small amount of chrome polish was used to bring back the trim edges. Do it before the paint process and don't forget to use that wax and grease remover. If you don't, you'll have problems like the "fish eye" effect in the paint and be doing it over. Mustang Dash PadThis 1965 Mustang dash restoration is not needing a new dash pad or dash cap, but the vinyl dash pad will be re-dyed, using vinyl dye. I'll be covering this shortly.
Restoration SectionsPart 1 - Mustang Restoration Index
Return from Part 8 - Mustang Dash Restoration to Ford Mustang
|


